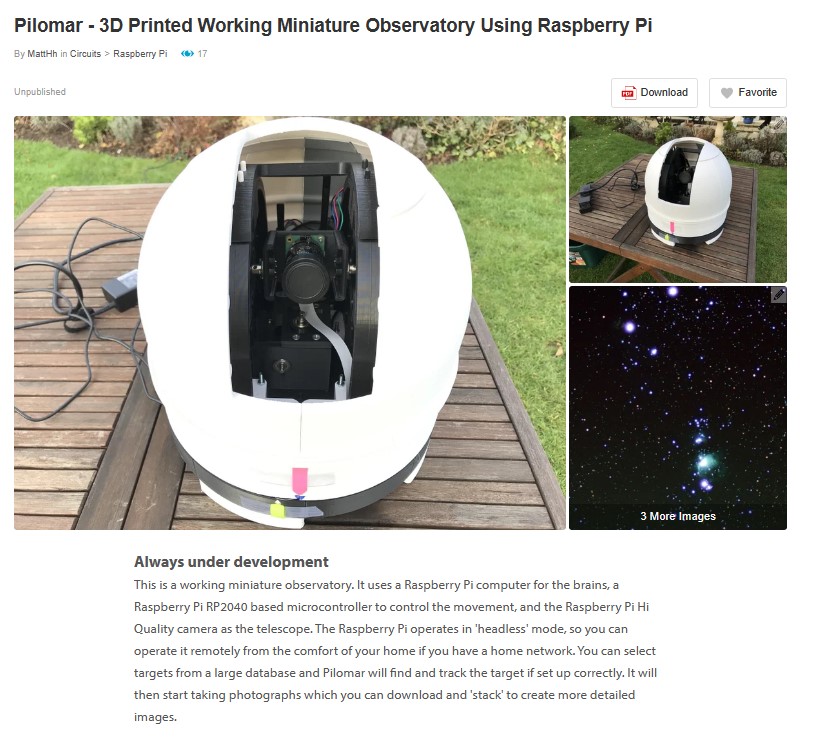
Build instructions
Life got spectacularly busy over the winter so the build instructions for the telescope are of course behind schedule. But I’ve been chipping away at it.

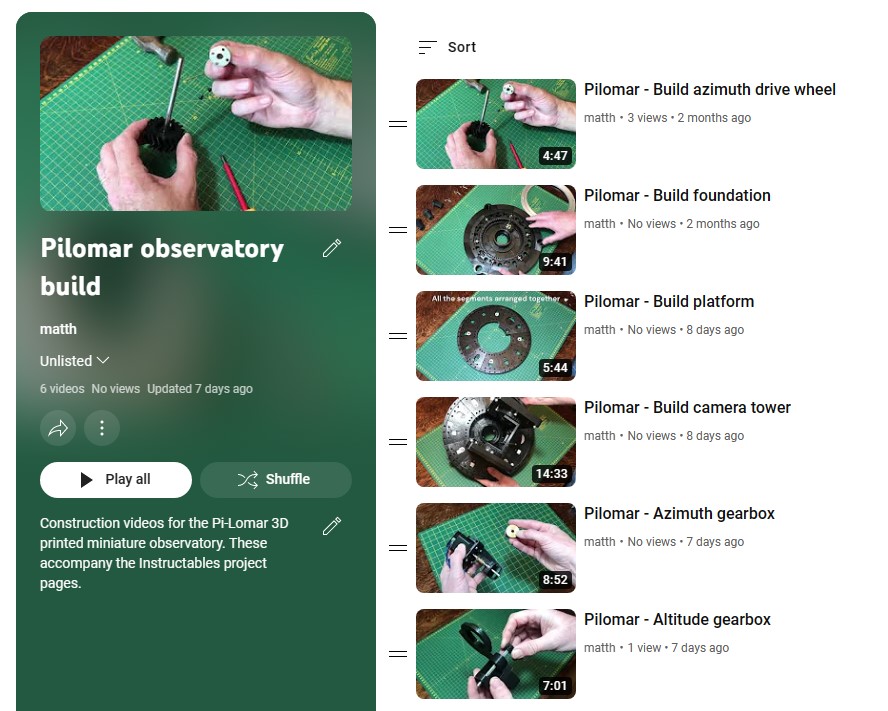
I’ve made some very amateur build videos which I’m currently editing and getting on to a draft Instructables page for the project.
I’m also slowly digging into GitHub for making the software and installation scripts available publicly.
Rotten weather
It’s been another winter of incredibly cloudy nights, including missing out on some fantastic aurora displays recently. Astronomy really requires some calm acceptance of what the universe throws at you doesn’t it.
When I have been able to work on the project I’ve been testing, testing, testing. In bad weather or daylight it’s hard to capture images of course. The software can simulate basic images if you cannot see through the clouds, that feature was originally just a learning exercise, but it’s proven really useful this year.
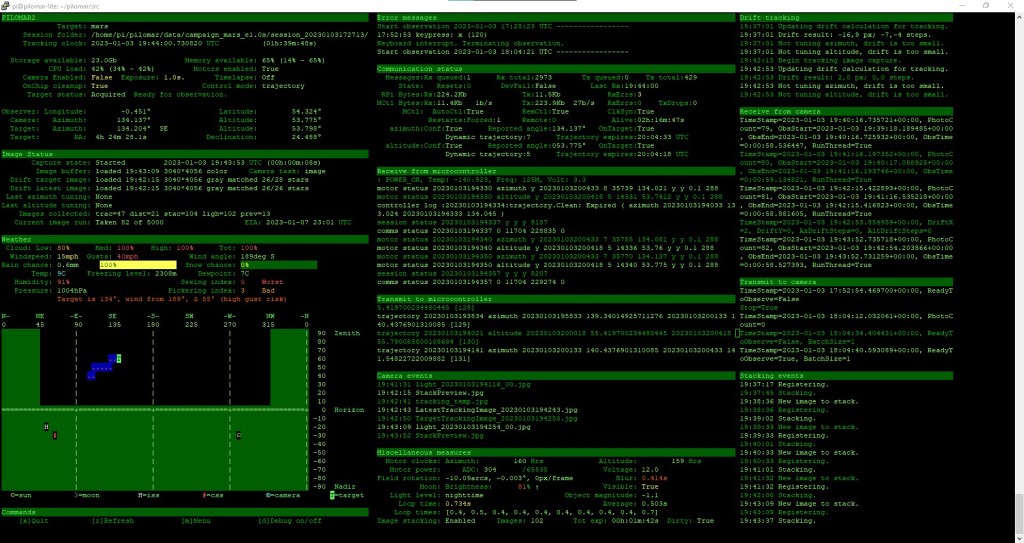
Improved tracking
Recently we had a rare incredibly clear and still night, the best I’ve seen in years, but as we are now into spring skies the objects I have been photographing are disappearing into the west. And of course a beautiful full moon was slap bang in the middle of some new potential targets!
Anyway I decided to exercise the tracking features of the telescope on some new areas of the sky, and found a unusual behaviour when I use ‘astroalign’ to detect and correct tracking errors. My attempts to make the tracking easier had actually been confusing it in some circumstances. I am very grateful to Martin Beroiz for his quick response to my question and learned some valuable improvements I can make to my tracking strategy.
Different lenses
In the interests of ‘I wonder what will happen if…’ I also swapped out the 16mm lens for a 50mm lens. This gives a much narrower field of view and takes the telescope to the limit of motor precision. I’m not going to redesign this version, but it’s been a useful exercise to finetune a number of features. If it can work well with the 50mm lens, it should be even more solid with the intended 16mm one. The telescope is still designed for the 16mm lens but this opens up the lens choice a bit.
The first 50mm lens I received had some slack in the mechanism, it took me a few nights to realise why I couldn’t focus it properly and why all the stars looked like comets..but customer service at The Pi Hut was fantastic and I soon had a replacement in hand. Anyway it looks like the telescope works with lenses between 16mm and 50mm. So that’s a range of about 5° to 20° field of view.
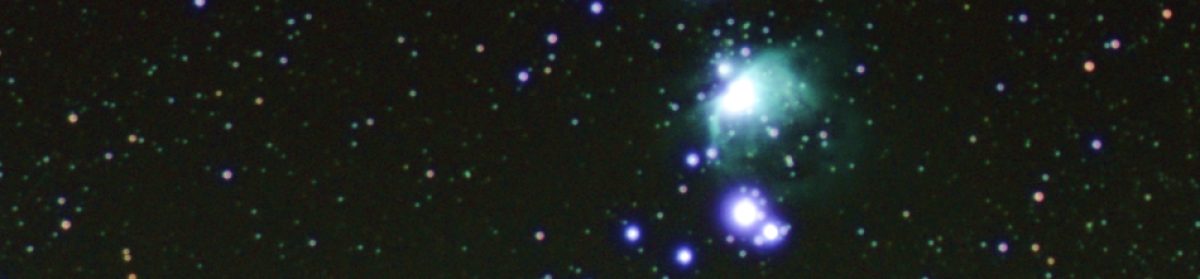
Many Messier objects are quite small with the 16mm lens, so longer lenses make more targets viable.
Infrared Filter
I’m still looking for some insight into the benefits of removing the IR filter on the HiQ sensor… I’ve not found any clear confirmation if it’s a real improvement for astrophotography yet. My limited understanding of the documentation suggests that it may not increase detection very far into IR anyway. I think I will wait before hacking the filter off, maybe it’s an experiment for when I retire an earlier build of pilomar that I still occasionally use. (Yes; I have 2 in action. No; I have no idea how to do interferometry with them 😀)
Hardware shortage
The shortage of Raspberry Pis has been a bit of a frustration, I’d like to swap out for a larger memory version but that’s going to have to wait. And maybe now it’s better to wait to see if a RPi 5 comes along one day. Having said that, keeping things running nicely on more modest hardware is good. I wonder if I could still get it running on a PiZero again??? A really stripped down version should still work, I think the working memory used by the OpenCV image arrays may be the challenge.
Other features
I’ve also experimented with some other features and have now decided which ones to keep and which to drop.
Memory cards
During the winter under heavy testing I noticed that the RPi 4 at the heart of the telescope suddenly slowed down significantly. After investigation I figured that the SD memory card was struggling, having saved/processed/deleted a great many thousands of images the card was starting to fragment or corrupt in some way. The SD card is the only storage for everything on the telescope. A simple solution is a quick rebuild of pilomar on a new SD card, but I guess this problem will keep occurring in heavy use. So the software now supports USB memory sticks as alternate storage. If found at startup pilomar will save images to the memory stick instead. If there is no memory stick, it stores everything on the SD card as before. The advantage is that the USB memory can be much larger so you can gather more images before offloading for stacking, AND you can now transfer images to other computers for processing by simply moving the USB stick across. The plug’n’play support feels a little shaky especially if you are running headlessly, but it seems to work reliably for me so far.
Live image stacking
I played with live stacking of the images too! I thought it would be too complex for my limited understanding but decided to give it a go anyway and see what I learned. It has some potential, I got closer than I expected to a working solution, but have decided to drop that feature for now too. Live stacking would be very interactive, but using a dedicated image stacker offline gives better results. So that experiment is going in the bin too.
Lens distortion
I studied lens distortion a bit as part of the livestacking experiment. The 50mm lens has very little in practice, but there is noticeable distortion at the edges of 16mm images. But the distortion was not generally enough to justify extra complexity yet. Dealing with it may enable some other features further down the road, but nothing serious at this point. So that’s going in the bin. It may return if I go back to live image stacking one day.
Observing conditions
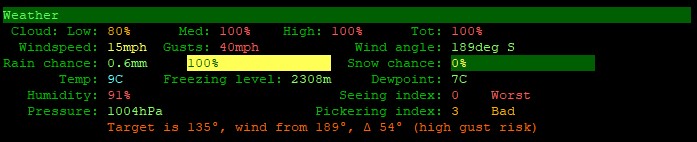
As a result of the poor observing conditions recently I also added a weather monitoring feature. When you are sitting inside and the telescope is outside, it’s handy to know roughly how the conditions are developing. I use the API from metcheck.com The telescope is not measuring local conditions directly, but using hourly forecast data from Metcheck. There’s almost too much data available there, but it’s useful for planning and monitoring observations; so it’s going into the official version.
Metcheck.com provide a JSON API for various sets of weather data, including an astronomy biased dataset. I’ve found it really useful. Here’s an example for Aberdeen.
Quality control of images
I have wondered about detecting clouds in images so that they can be removed automatically, but haven’t solved that yet. However the software will now detect meteor/satellite/aircraft trails using some OpenCV line detection routines. That’s staying in the software. It’s useful to ignore unwanted images with trails, and also to spot meteors if you’re just capturing a meteor shower!
User interface
Pilomar currently uses a simple character based UI. The observation dashboard uses a small home grown character library that I made for other projects. There are several other UI frameworks available but so far I’ve considered that quite low priority to integrate.
I recently experimented with adding a simple web interface. It would be great to operate it directly from a mobile phone for example. I got a simple live feed of the latest image onto my phone, but it’s quite a ‘can of worms’ to make it really slick! I think at the moment it’s still too big a distraction and potentially better left for a full rewrite of the software sometime, so the software remains as ‘character based’ only for now. A web interface may be useful if I ever convert the telescope to being fully mobile… maybe running it all off a 12V car battery so I can get to remote dark skies. The current UI has some basic flexibility for terminal window sizes anyway, so could be run on smaller devices through a terminal emulator I guess. Need to try it.
Finally
So that’s it, been a busy software development winter, with very few chances to make observations. But I’m on the final push now to get the build instructions published. Nearly there!

