Finally published
So the telescope project is finally out! 50% of the project time seems to have gone into making the instructions. Mainly because life is busier now than during the Pandemic, and partly because of all the lessons learned while making them. Like so much of the project, the instructions included a lot of firsts for me too. A few mistakes have turned up in the build guide, but I’ve always received very kind and positive feedback and corrected any mistakes as quickly as possible. I still need to complete a full ‘bill of material’ list though!
New issues
Feedback from builders has revealed a few issues, I’m expecting more items to appear in the coming weeks as people get the telescopes up and running. What worked for me, may not work for others, we’ll find out what was luck and what was bullet-proof soon! There are so many different ways to build every element of the project that there will ultimately be variations in every model.
PCB design
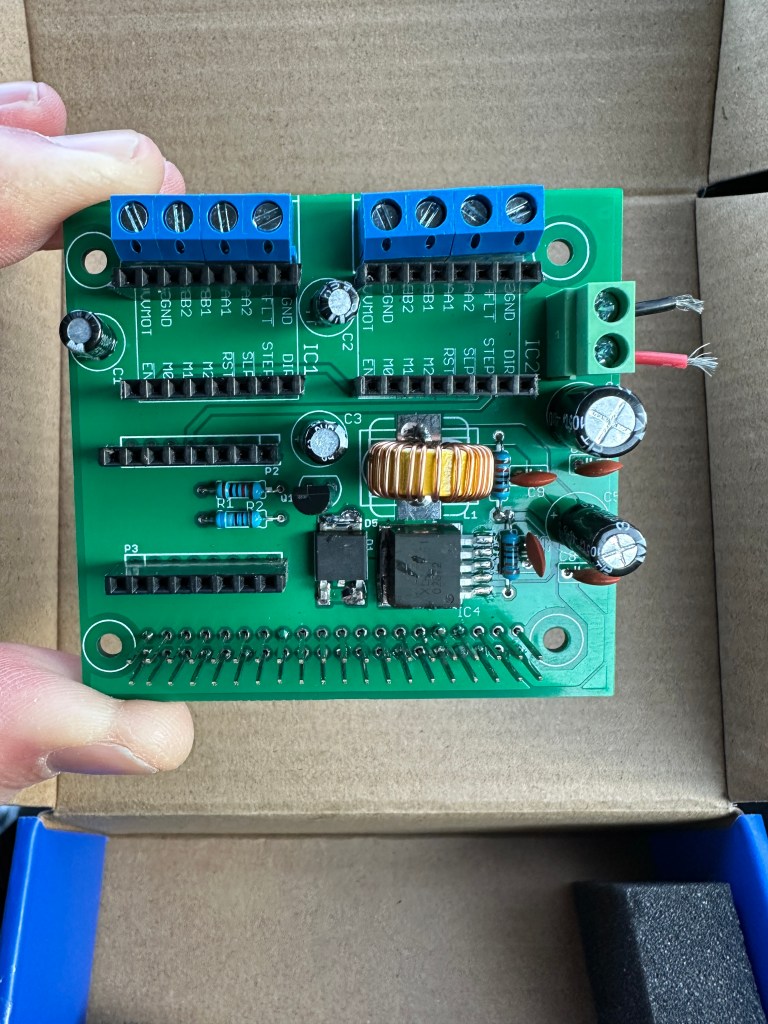
The PCB has been an unexpectedly interesting part, the build videos included a PCB that I made over a year ago as part of an exercise to learn how to use EasyEDA to design circuits. It included experiments and some development features – and also included a mistake in one of the tracks. But with some careful track sculpting with a Dremmel I got it running.
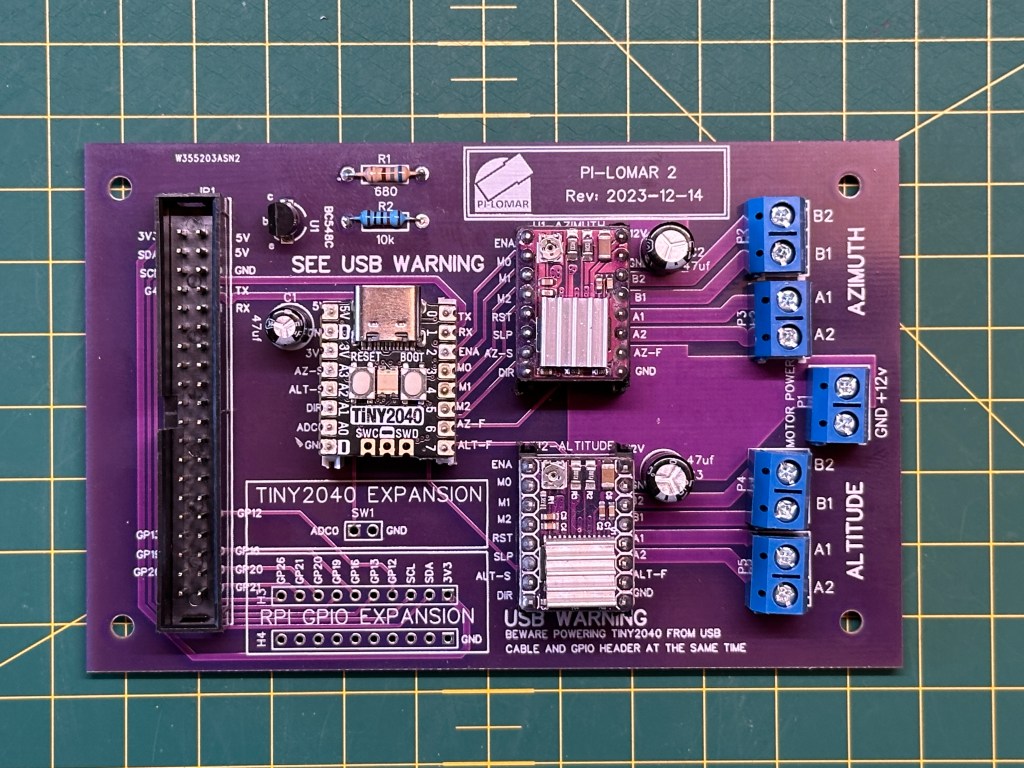
The circuit for the project is simple, and with hindsight could be even simpler. I understand that it’s more comforting to have a proven circuit board rather than building your own solution. So an immediate side project fired up, a few people were kind enough to offer help to create a proper design for the PCB which could be published. As I type this, I have 2 different prototypes on my desk for testing. If both pass the tests then I’ll add the Gerber Files into the GitHub repository so that people can get their own boards made up too.
I still wonder if there is a suitable commercially produced HAT that would perform the same function. I’ve not found anything yet which has the onboard logic AND powerful enough stepper motor drivers. If one ever appears it would be sensible to rework the project to make use of that. There are similar ideas out there for robotics I suppose, but I’ve not yet found an appropriate specification.
I’m running the Tiny2040 microcontroller on very low voltage, out of an abundance of caution really. When I measured it recently it’s showing about 2.5V across the Tiny2040. Apparently 3.0V is the recommended minimum, but two telescopes have been running nicely on 2.5V for a long time so far. However I’ll revise the component specifications with the new PCB design to increase the voltage a bit, that might increase tolerances for different designs.
3D printing
My humble 3D printer, limited printing skills and multiple design iterations meant that my builds took MONTHS to produce. You can imagine my amazement when people started posting photographs of the telescope structure nearly complete after just a few days! They are all really nice quality prints too. It quickly appeared that at least one of the published STL files was from an older iteration – but it is corrected now. I’m resisting the temptation to evolve the designs further at the moment until a few more people have got the current design up and running. Then I can have more useful insight into areas for improvement.
Simplified kit
One question that appeared quickly was ‘How do I make one if I haven’t got a 3D printer?’. It sounds like sending the STL files to a commercial printing company is too expensive, and probably there are too many parts to make them all at a local maker workshop. At first I thought that would rule out making the telescope completely, but after a couple of conversations I started to think differently about it. The only thing that you really need to get 3D printed is the mechanism. Basically the gears and cogs are useful, everything else can be made from any material you like. So I’m wondering if there’s a side project possible here, a cut down version of JUST the mechanism, maybe 10 parts, slightly redesigned so that they can attach to anything. A drive-only kit would be more manageable to get printed. I’ve not designed anything yet, but if I get another cloudy winter with little observation done it might make a good evening project.
New lens
I know that the project began with the question “Can the RPi camera components make a working telescope?”, but of course I’m now chasing better quality. I suspect a lifelong challenge. The telescope works mechanically well with the RPi 16mm lens, but that’s got about 20Degrees field-of-view so things are small. I have been using the 50mm Arducam lens for about a year now and that magnifies much better, about 5Degrees FOV, but the question in my mind now is … are the optics high enough quality?
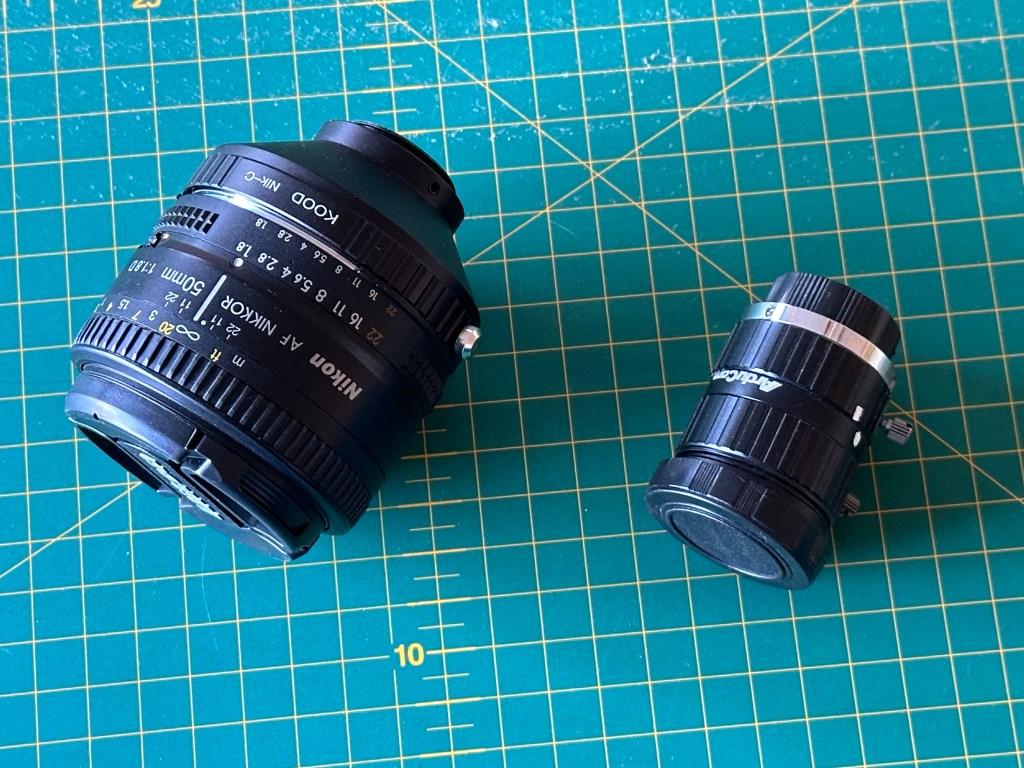
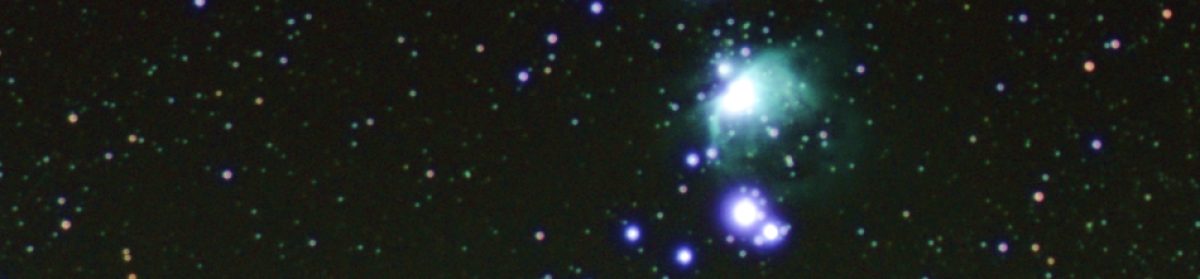
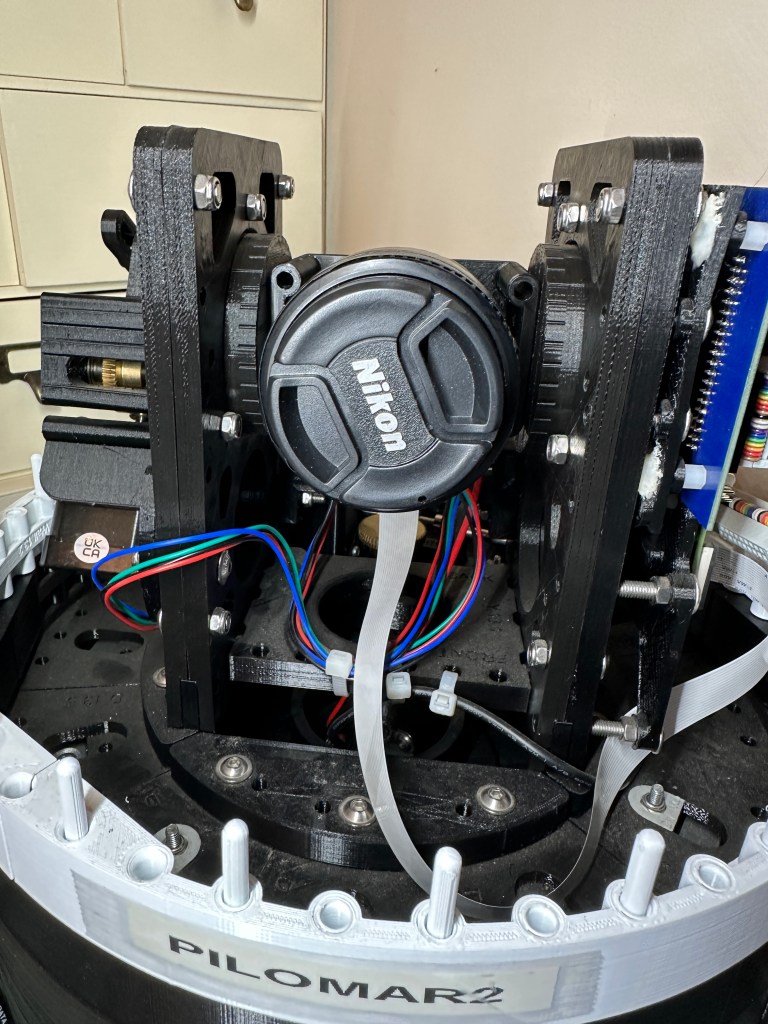
I’ve noticed that even quite poor images are rescued very well by the stacking software, but I couldn’t help trying a higher quality 50mm lens. So I’ve fitted a Nikon-to-C adaptor and mounted a regular 50mm Nikkor SLR lens to the telescope. I grabbed about 20 frames during a brief unexpected gap in the clouds the other night.
Some immediate thoughts…
Focusing is MUCH easier with an SLR lens. It was quite fiddly with the little C/CS lenses, but the SLR lens was producing crisp star points in minutes.
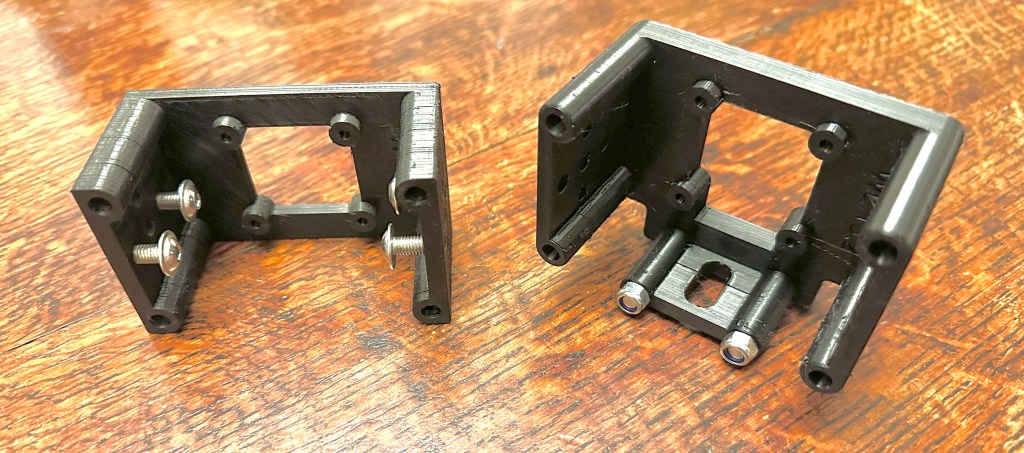
The camera cradle is JUST big enough to squeeze the 50mm lens in, but the weight of the lens is an issue. I modified the camera cradle to make use of the tripod mount hole at the bottom of the HiQ sensor. That should take the weight of the lens better and reduce the pressure on the rest of the PCB. It’s generally a better design even for the smaller lighter lenses.
It’s raised an unexpected problem though, the new images have a definite CYAN tint to them. Is that a feature of the SLR lens coating? Is it because the image is just more crisp? Is it only in the JPG images or is it in the .DNG raw files too? Experiments and/or other people’s advice is needed here.
I have STILL not been brave enough to take the IR filter off the sensor.
Software
The first few people to start builds have identified some fixes which are in the next software release, I really appreciate their patience while we get all this working easily for everyone. My main focus at present is to improve the problem solving capabilities of the software.
Some examples:
I am adding a feature to help tuning the telescope’s Tracking Function. You have to balance two or three parameters to get it running smoothly, so a tool to help find good values seems sensible.
Debugging communication has been an exercise for everyone, so I’m cleaning up some error messages to make things a little more clear there.
There are a couple of extra ‘version’ messages in the log files now so we can see what versions of components are installed.
Raspberry Pi 5
I could not resist so I ordered one online… and had to wait… meanwhile I was in the Raspberry Pi shop in Cambridge the other day and they had a bunch on the shelves… I very nearly bought another.
The current project is restricted to the ‘Buster’ operating system and the RPi4B. (The RPi3B seems to work too, but is slower.) Both are aging, I fear something critical may one day become unavailable. I already had the problem that the Buster image vanished from the official installer tool about the same time I published the instructions. Luckily there is an archive of all the old versions available. So I need to plan for an updated build eventually.
The RPi5 is sufficiently different architecture that the setup and some functions will need rethinking. But if I can get the telescope working on the RPi5 there are useful new capabilities.
- libcamera replaces the old raspistill camera handler. I’m hoping that makes handling of the RAW image data simpler. Let’s see.
- The RPi5 of course is more powerful, which improves performance. Maybe onboard image stacking becomes viable if I can find a LINUX live stacker package somewhere.
- The RPi5 supports 2 cameras simultaneously. This is very useful. Today the telescope uses a single camera for IMAGES and also for DRIFT TRACKING. In practice a single lens cannot be optimised for both functions, but 2 separate lenses solves that. I think a 16mm lens for the drift-tracking and a 50mm SLR lens for capturing the observations would be great. That may allow different tracking strategies too.
My heart sinks at the thought of fighting through all the package dependencies again, perhaps I should still wait a while for everything to stabilise.
Observing!
Of course the purpose of a telescope is to actually make observations! So I’m really hoping that we have a better winter than last year. So far the forecast has been quite poor, but we’re occasionally getting unexpected clear periods in otherwise total cloud cover. It means you have to keep an eye out for the breaks in the cloud because the forecasts are picking them up. A fully weatherproof telescope would be a real bonus here, then you could grab the brief random opportunities that present themselves. The light pollution has been quite bad around our village too, we’re close to the coast which seems to leave mist in the air, and recent building development is adding to the lighting problems. The need to make this thing fully portable is growing!

